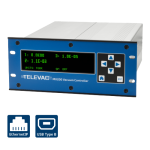
说明
This application note explains the process for the setup, configuration, and troubleshooting of a Televac® EthernetIP device. In order to communicate with the unit, the EthernetIP device’s IP address will need to be configured to the same network as the PLC. The following steps describe how to establish the initial connection, and what steps to follow should any issues arise. The first setup option assumes internet connectivity and makes use of an IP address configuration utility tool for the module. If an internet connection is not available, refer to the Setup and Troubleshooting Guide for Televac® EthernetIP Option 2.
请参阅EthernetIP for MX200用户手册,了解关于1类和3类连接的完整描述,以及包括数据实例、名称、阵列长度、访问和描述的完整ADI表。关于将电子数据表(EDS)文件下载到PLC,请参见应用说明3016。
1.安装Ipconfig工具
1.1 IPConfig 是 HMS 提供的一个实用工具,旨在与内置的 EthernetIP 网络模块配合使用,以方便设置。要安装该工具,请从以下网站下载并安装软件部分下的 "IPConfig Utility "软件包:
https://www.anybus.com/support/file-doc-downloads/compactcom-40-series-specific/?ordercode=AB6604
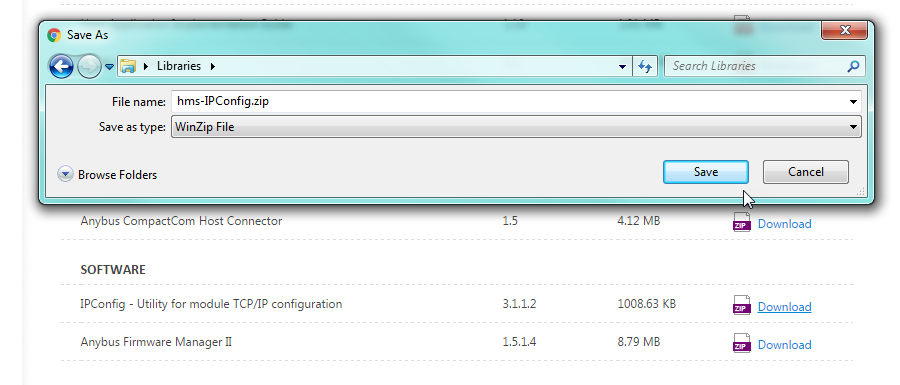
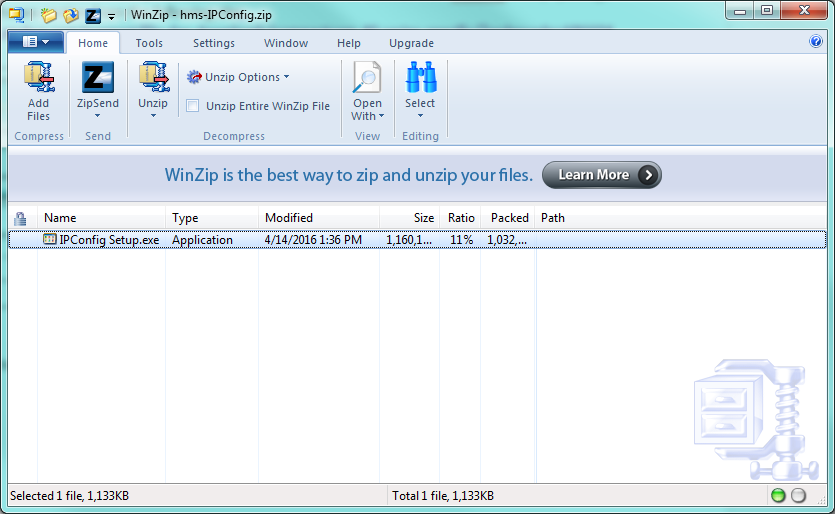
1.2 将文件保存到计算机,然后打开文件夹并运行 IPConfig Setup.exe。安装 IPConfig 程序。
2.Windows 10 操作系统配置
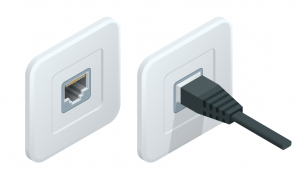
2.1 将设备背面的 MX200 EthernetIP 端口连接到计算机。
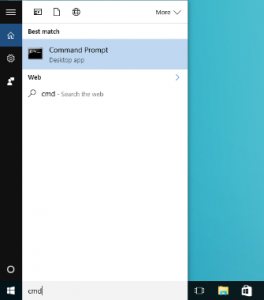
2.2 为了将设备的 IP 地址配置到网络,必须知道网络地址和子网掩码。如果已有这些信息,请跳至步骤 2.5,使用 IPConfig 工具设置模块 IP 地址。如果没有,请从 "开始 "菜单打开 cmd 终端。
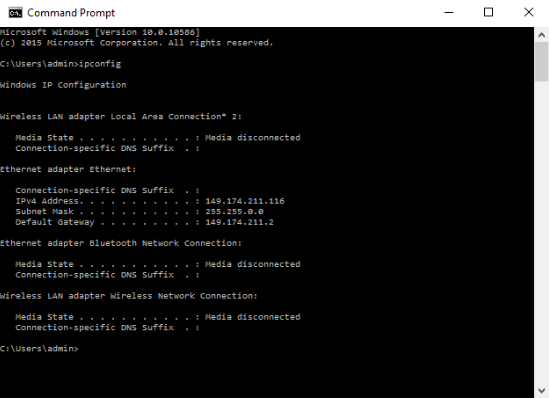
2.3 在终端运行 "ipconfig "命令,查看网络设置。
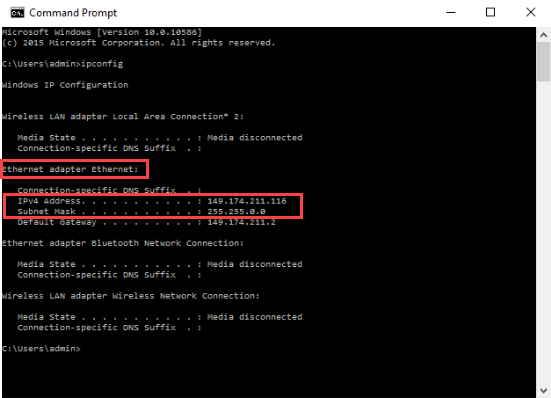
2.4 找到 "以太网适配器以太网",并标记 IPv4 地址和子网掩码。这将是分配给设备的网络。为了在网络上正常通信,需要在网络上设置一个未被其他设备使用的不同 IP 地址。这一步可能需要 IT 人员帮助验证;如果设备 IP 地址与网络上的任何其他设备冲突,设备将无法通信。
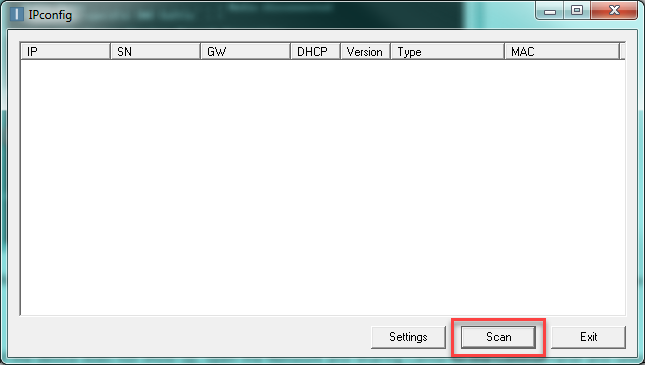
2.5 运行从 HMS 下载的 IPConfig 实用程序。打开后,扫描网络以查找设备。
2.6 如果设备未显示,请打开控制面板中的网络和共享中心,验证是否正在进行以太网连接。如果没有连接,请检查电缆并将以太网电缆重新插入计算机上的适配器。
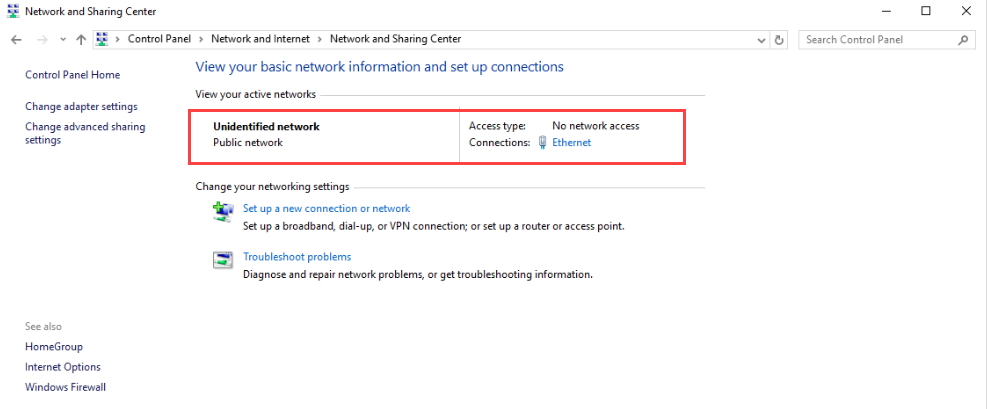
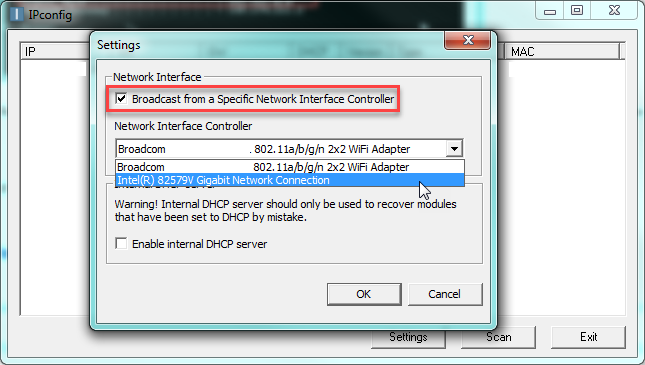
2.7 在 IPConfig 实用程序中,选择 "设置",然后选中 "从特定网络接口控制器广播 "复选框,并选择以太网控制器。
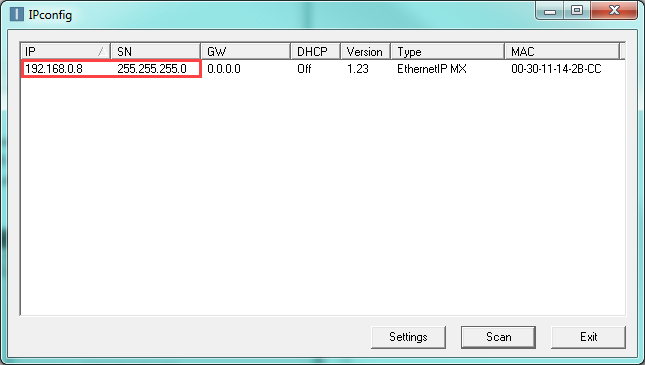
2.8 现在您应该可以看到设备的默认 IP 地址为 192.168.0.8,子网掩码为 255.255.255.0。
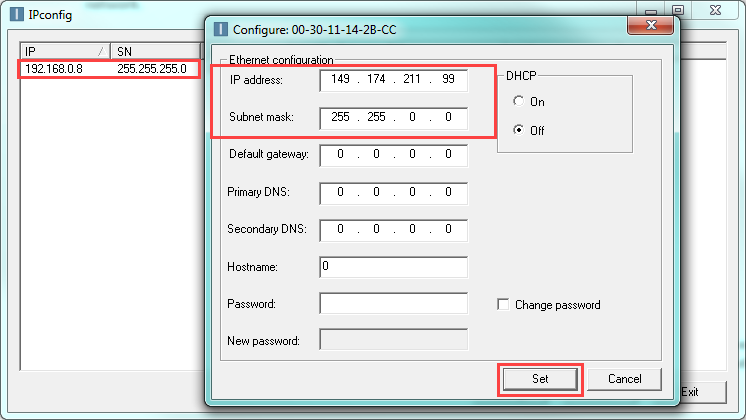
2.9 选择此设备更改设置。在此示例中,终端在步骤 3.1.4 中显示所需的网络为 149.174.211.X,子网掩码为 255.255.0.0。该设备将被设置为 149.174.211.99,子网掩码为 255.255.0.0。此 IP 地址示例经验证不会与本地网络中的任何其他设备冲突。完成设置更改后,选择设置。选择扫描刷新列表。
2.10 如果使用 DHCP,IP 地址将自动分配,但可由 DHCP 服务器更改。如果将 PLC 的静态 IP 地址连接到使用 DHCP 分配 IP 地址的设备上,则需要对其进行验证,并可能在使用前对其进行修改。
3.验证设置
3.1 配置好 IP 地址和子网掩码后,可通过 PLC 或网络功能验证网络连接。要通过网络功能进行验证,请在浏览器地址栏中输入 IP 地址,然后输入用户名和密码(默认为 Admin:admin)。
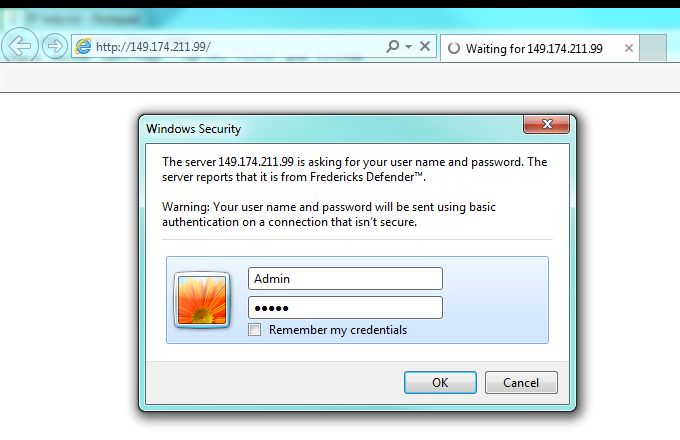
3.2 如果设备与网络连接正常,则应显示网页。在这里可以查看和更改数据参数以及当前的 EthernetIP 网络设置。
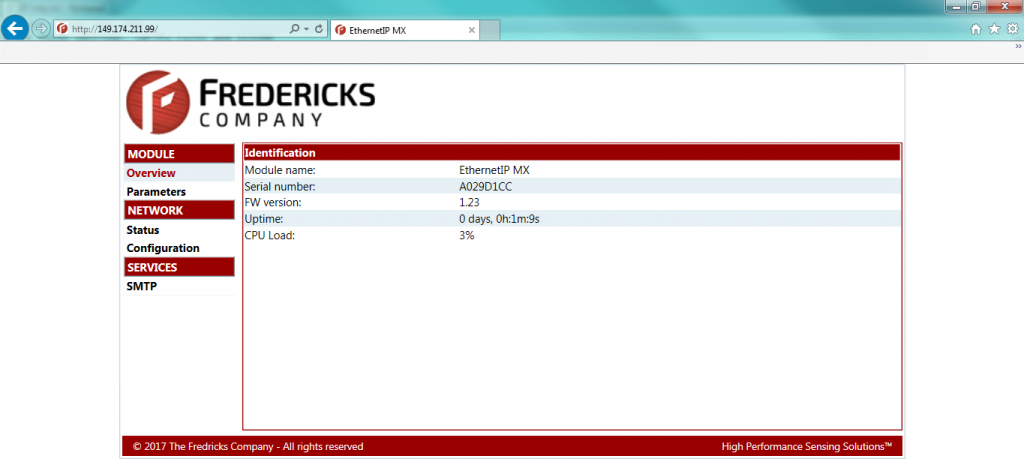
3.3 The unit should now be ready to use with a PLC. Please refer to Televac® Application Note 3016 for downloading the Electronic Data Sheet (EDS) and creating a connection.


